MailChimp Contact Form Basic Setup
This basic how-to assumes you already know How to use Contact Form 7 Contact Form 7 and your Contact form 7 is already working in your web page.
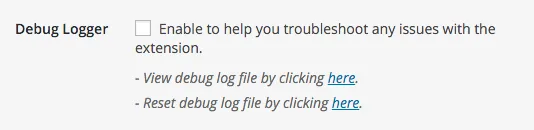
Step 1: Enable the Debug Logger included inside the MailChimp Extension tab, and click SAVE. This will help you to record some issues you are experiencing with this particular form.
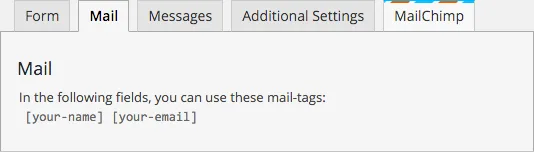
Step 2: LEARN what are your available mail-tags based in your current form settings. You can see on the following screenshot [your-name] and [your-email] are available for me, based in this form current settings. These mail-tags may be different for you, depending how you named your form fields.
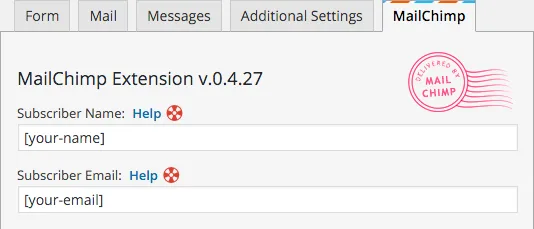
Step 3: Now that you know what are your mail-tags, lets place them in the right fields. The basic setup has 2 fields available for that purpose, you can see then in the following screenshot.
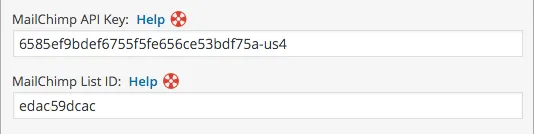
Step 4: Input your MailChimp API Key and your MailChimp List ID in the correct fields, please see the following screenshot. Click SAVE.
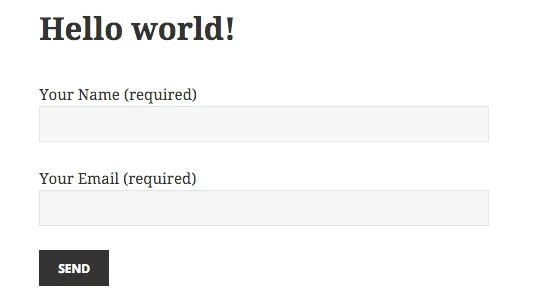
Step 5: At this point all your basic settings are ready for you to test your form. Now go to the front-end and test your form. The form for this specific tutorial looks like the following screenshot. Remember, my form only has 2 fields: [your-name] and [your-email].
DONE!: Once you send your form, you should see the classic OK response from contact from 7 like the screenshot bellow.

Now you can check your Debug Logs and see how MailChimp.com replied to your settings. Also, you can read your last API call to MailChimp.com here https://admin.mailchimp.com/account/api/.
I hope this was a useful explanation of how to setup Contact Form 7 MailChimp Extension.
Have fun!
Renzo.